Burnet, TX & Central Texas Mon–Fri: 8:00 AM – 5:00 PM

Home/Services/Roof Replacement

RV Roof Replacement, Done Where Your RV Sits

Complete tear-off and rebuild, carried out at your home, storage lot or campsite. No shop visit, no towing a rig with an open roof.

Most RV roofs do not need replacing. Caught early, a reseal is a fraction of the cost and buys years. But when water has already reached the decking, sealing over the top only hides it — and the repair gets bigger every season it waits.

We carry out full roof replacements on site: at your home, your storage lot, or wherever the RV is parked. You do not tow a rig with a failing roof to a shop and back.

What a full roof replacement includes

  • Complete tear-off of the failed membrane and any rotted decking
  • Inspection of the roof framing once it is exposed
  • New decking cut and fitted over the original framing
  • All seams taped and sealed before the membrane goes on
  • New membrane installed across the full roof
  • Vents, fans, A/C units and skylights removed, reset and resealed
  • Full clean-up — we take the old roof away with us

Reseal or replace?

Resealing is the right answer far more often than replacement, and it is the job we do more of. If your seams are tired but the decking underneath is sound, that is a reseal and we will tell you so.

Replacement is for a roof where water has already got into the structure — soft spots underfoot on the roof, staining on interior ceilings, or a membrane that has started lifting and splitting. The photographs below show exactly what that looks like.

*One hour minimum labor charge required with all service calls. Contact us for current labor rates. Pricing is subject to change at any time without notice.

Real Job, Start To Finish

What a full roof replacement actually looks like

A complete tear-off and rebuild, carried out in the customer’s driveway, photographed as we went.

Old membrane and rotten decking stripped back to the frame
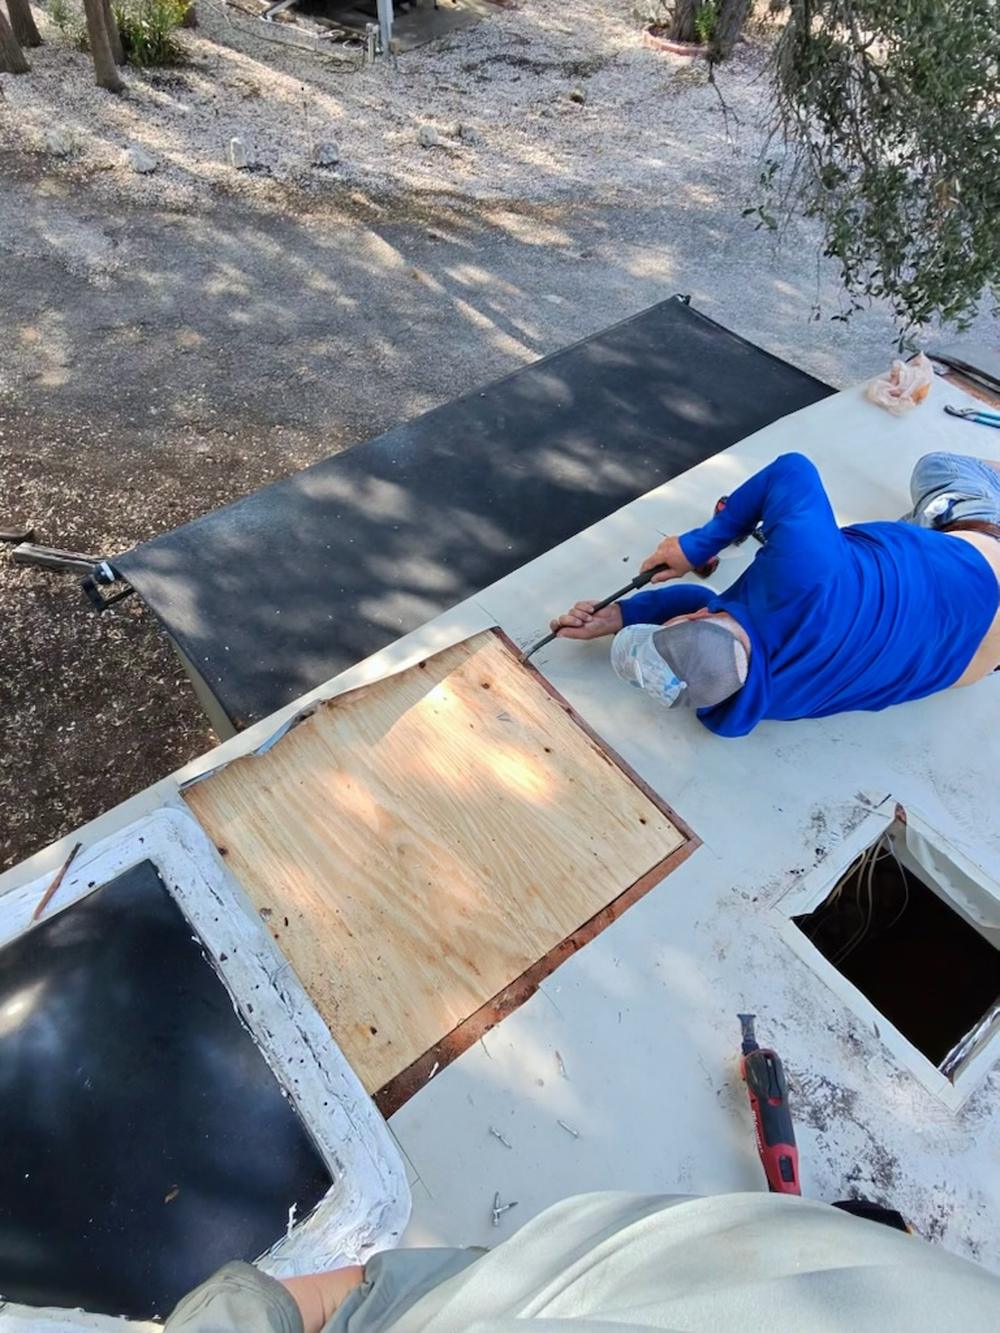
Old membrane and rotten decking stripped back to the frame Once the failed roof came off, the extent of the water damage was visible — delaminated OSB across most of the roof. There is no way to see this from the ground, and no amount of resealing fixes it.
New decking going down over the original framing
New decking going down over the original framing Fresh plywood cut and fitted panel by panel, on site, in the customer's driveway.
Vents, fans and A/C openings cut to the original positions
Vents, fans and A/C openings cut to the original positions Every roof penetration is re-cut to match the factory locations so the existing units drop straight back in.
Full deck screwed down and sealed at the seams
Full deck screwed down and sealed at the seams Screw lines follow the roof trusses. Seams are taped before the membrane goes on.
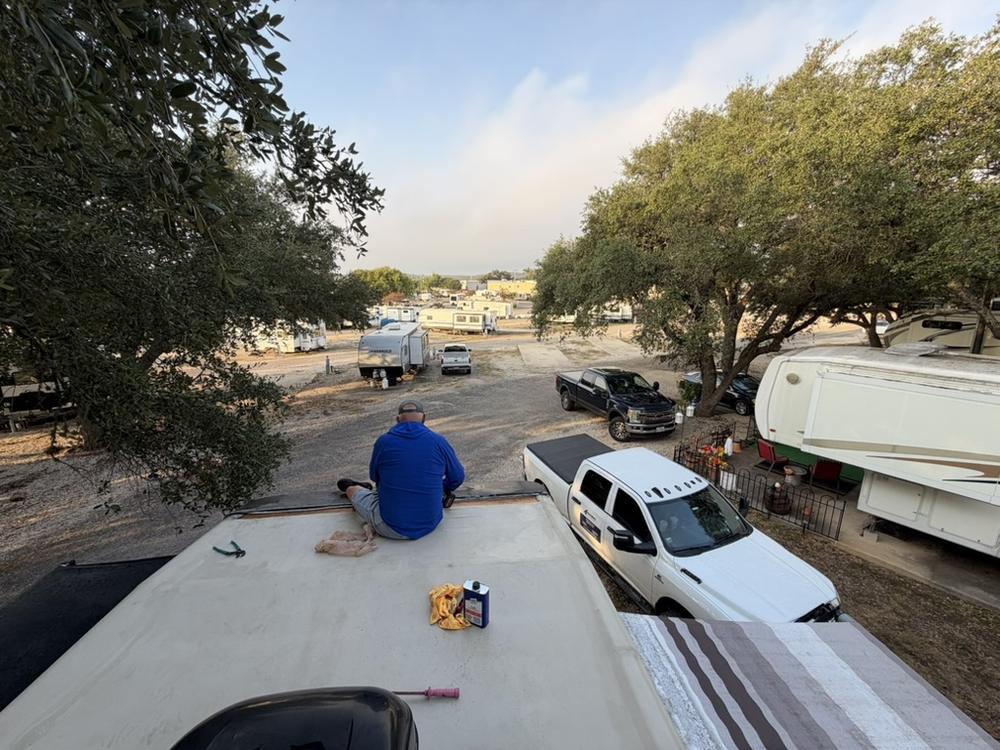
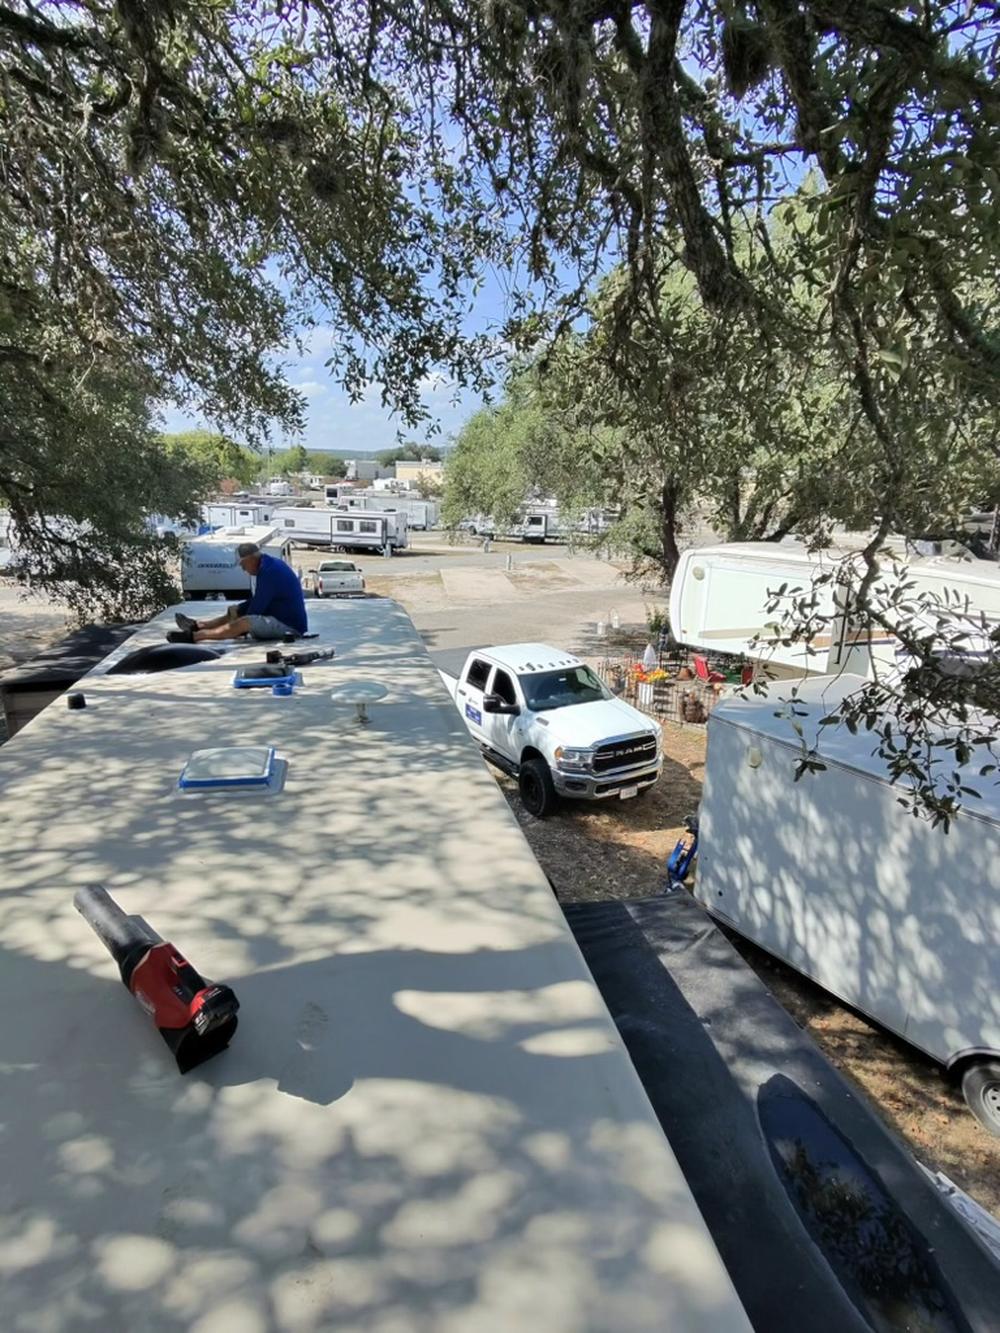
Working on site, start to finish
Working on site, start to finish The whole job is done where the RV sits. No towing a rig with an open roof to a shop and back.
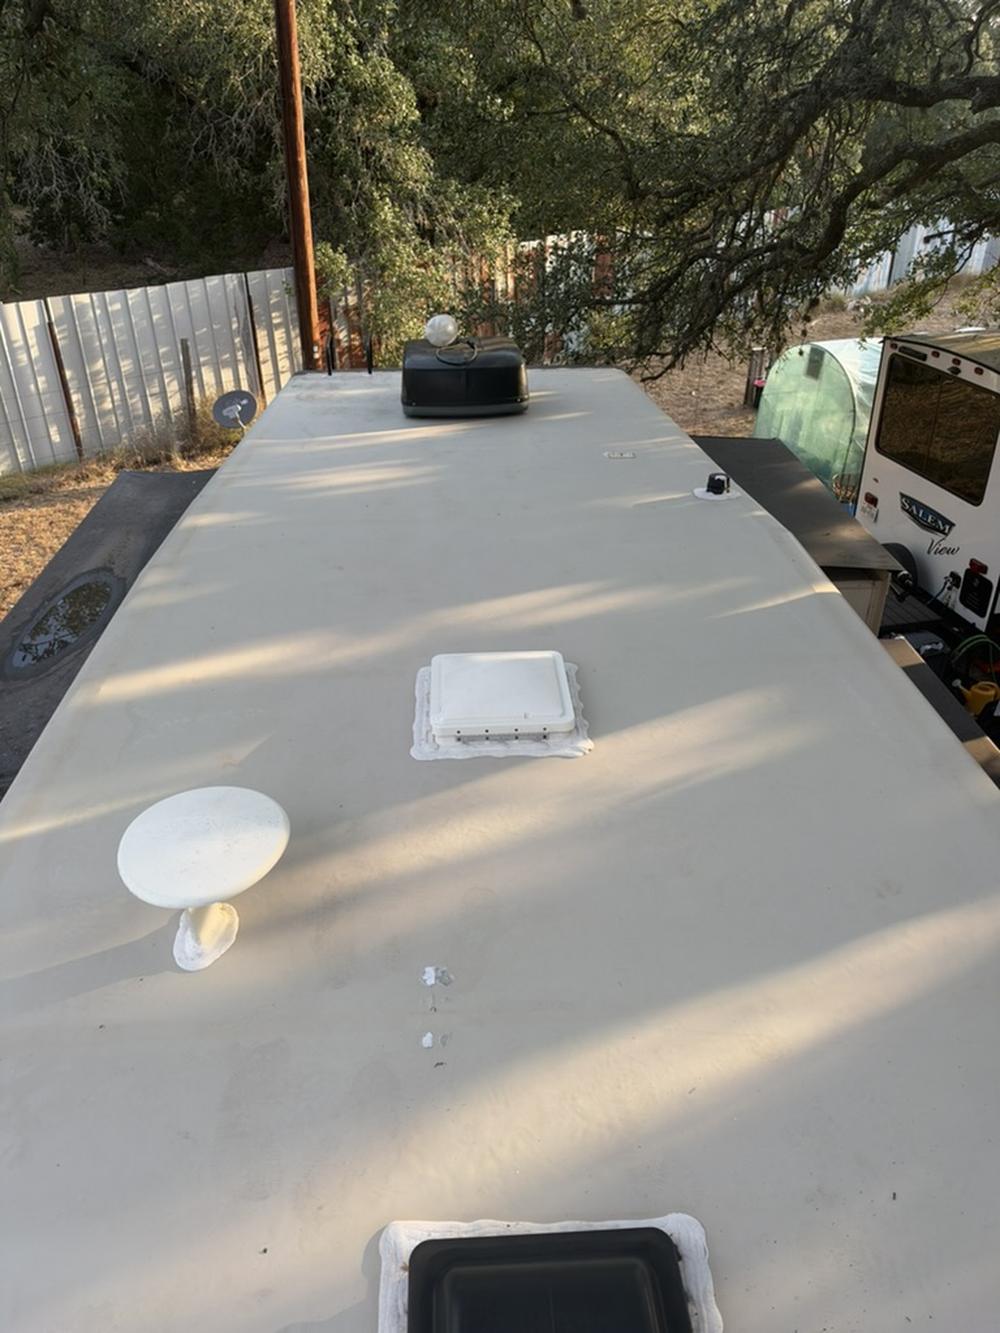
Finished roof, A/C and vents reinstalled
Finished roof, A/C and vents reinstalled New membrane, new decking, everything resealed and put back.

When a reseal is enough — and when it isn’t

Most roofs do not need replacing. Caught early, a reseal of the seams and penetrations is a fraction of the cost and buys years. That is the job we do far more often, and it is what we will recommend if it is genuinely what your roof needs.

A replacement is for the roof in the photographs above — where water has already been getting into the decking, and sealing over the top would only hide it. We will tell you honestly which one you are looking at.

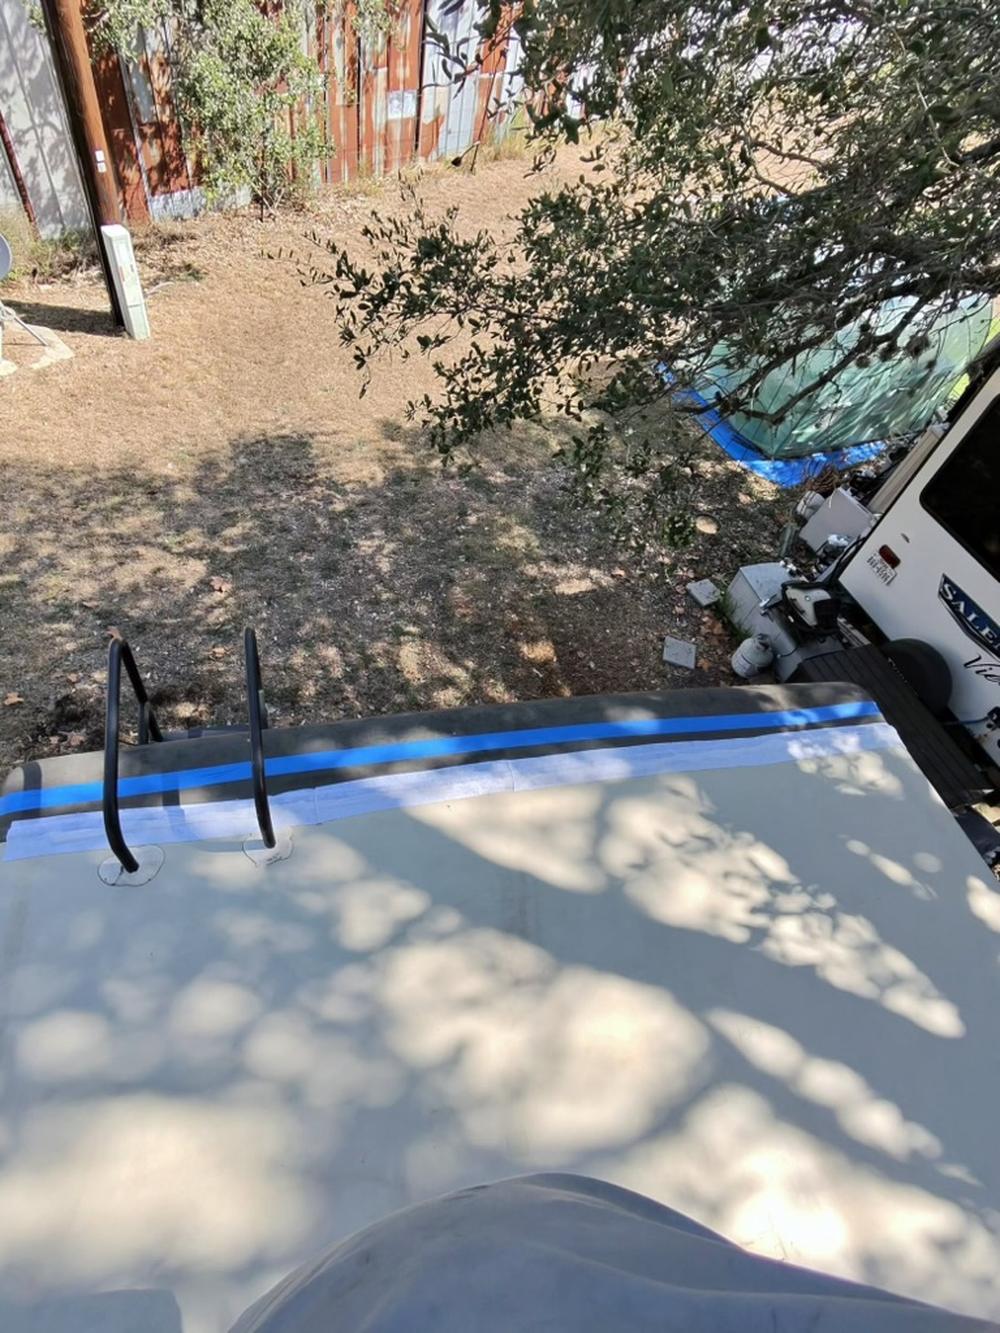
Front cap seam resealed
Vents and skylight resealed
Every penetration checked and re-run
Fresh lap sealant on each fitting
Front cap bead, cleaned and re-laid

Resealing work — seams and roof penetrations cleaned back and re-run with fresh lap sealant.

A second roof, same process

Different rig, different failure, same job. This one shows what a failing membrane looks like before anyone opens it up — and what is usually waiting underneath.

The membrane had given up
The membrane had given upCoating lifting and splitting away from the substrate. Once it is doing this, water is getting past it at every seam.
What was underneath
What was underneathDecking so far gone it came away in handfuls. No sealant on earth fixes this — it has to come off.
New decking, panel by panel
New decking, panel by panelFresh plywood cut and laid over the original framing, openings marked from the factory positions.
Seams taped before anything goes over
Seams taped before anything goes overEvery joint sealed first. This is the layer nobody sees and the one that decides whether the roof lasts.
Vents and skylight bedded back in
Vents and skylight bedded back inEach penetration reset and sealed properly rather than smeared over.
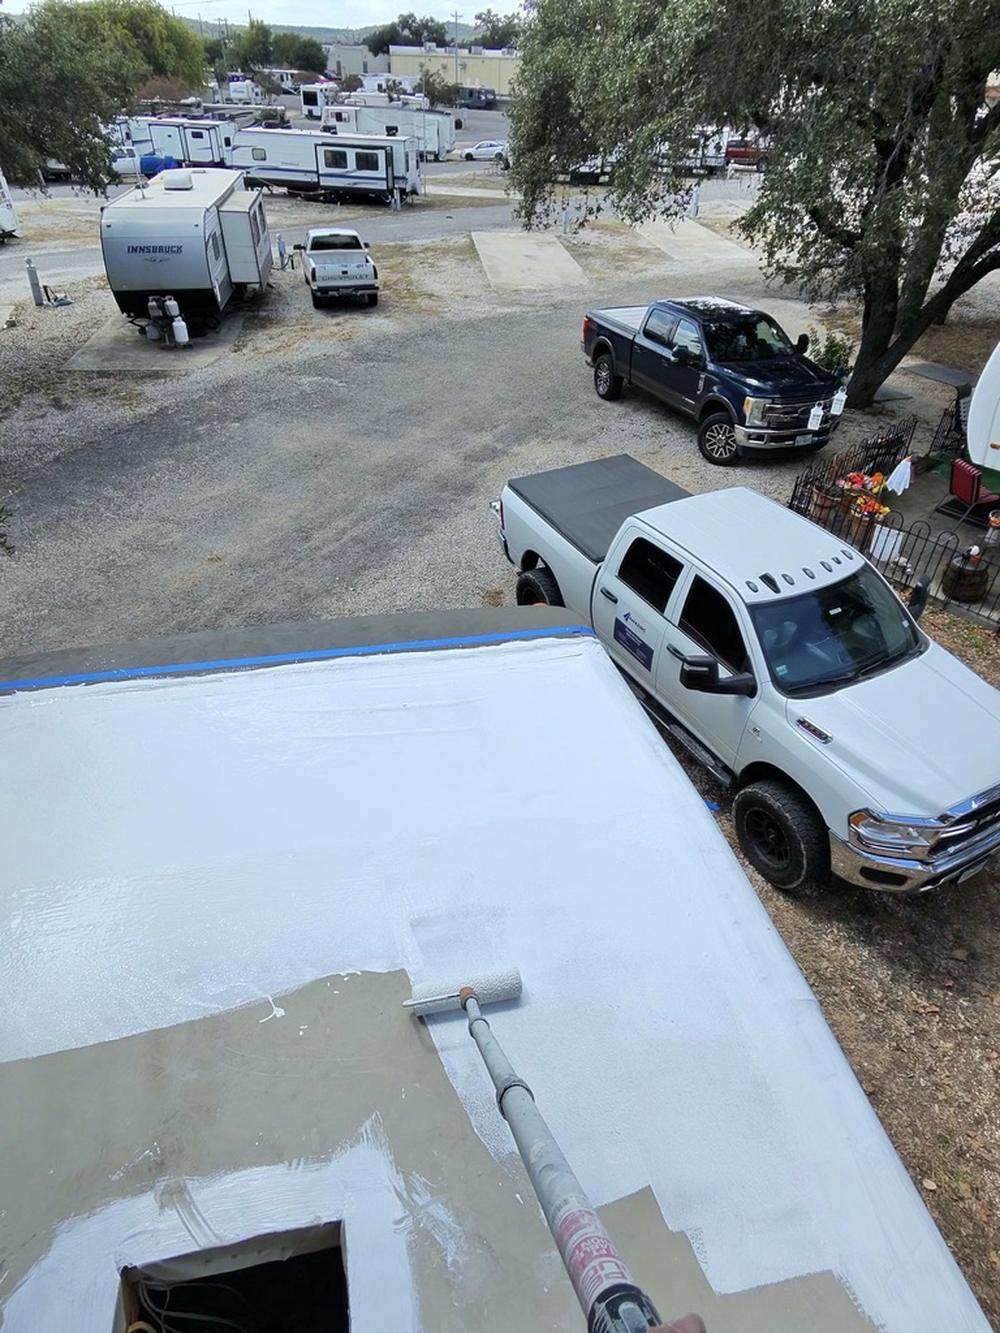
Membrane coating going on
Membrane coating going onRolled on over the prepared deck, working across the roof in sections.
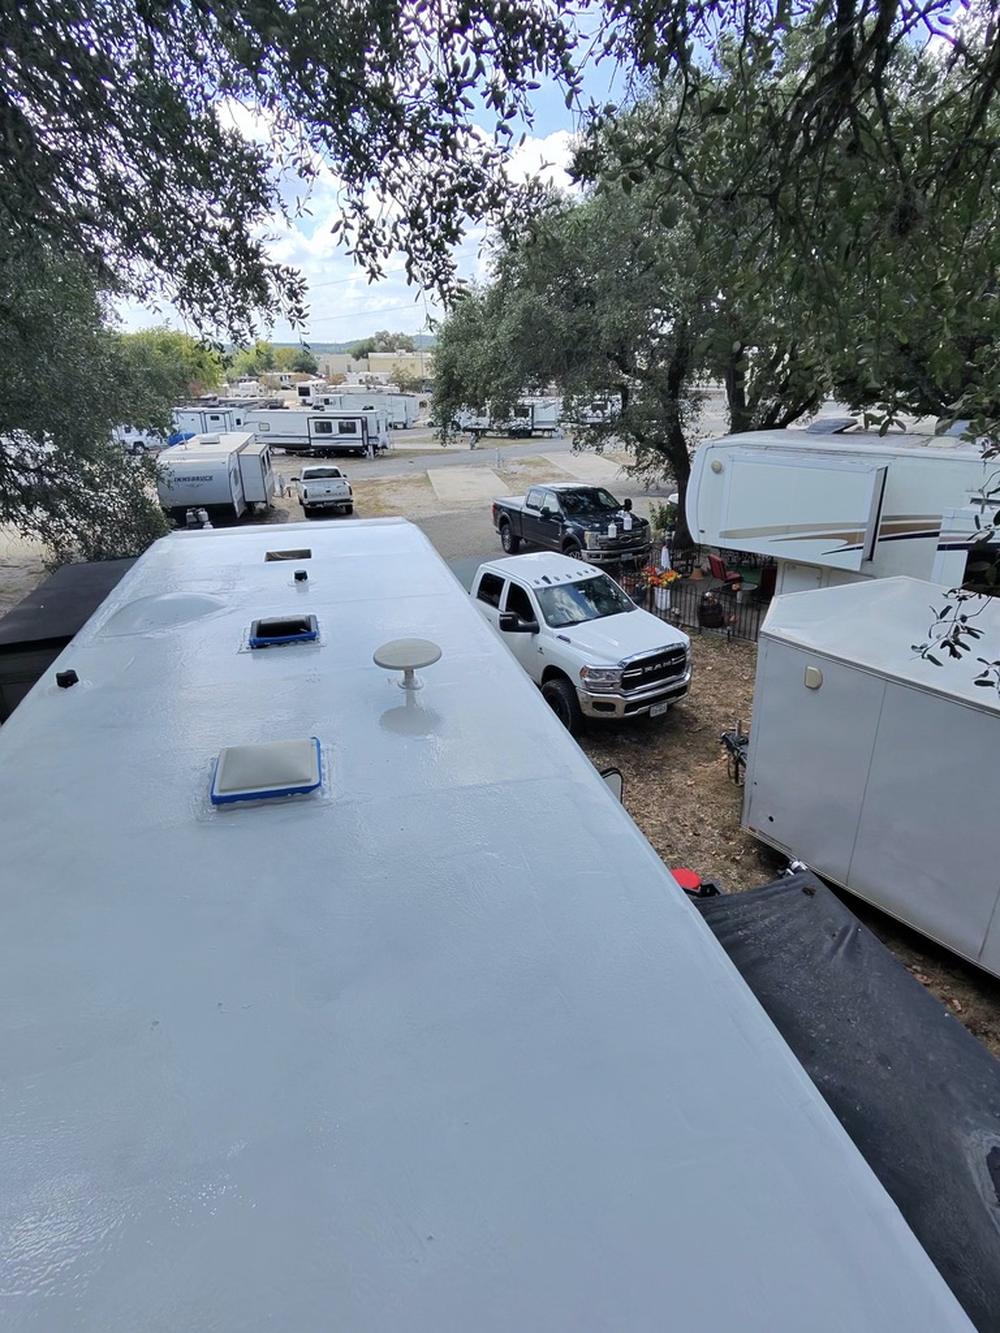
Finished
FinishedA new roof, done in the customer’s own parking spot.
Detail at the vents
Detail at the ventsClean edges around every fitting. This is where roofs leak, so this is where the care goes.

CrazySeal RV roof systems

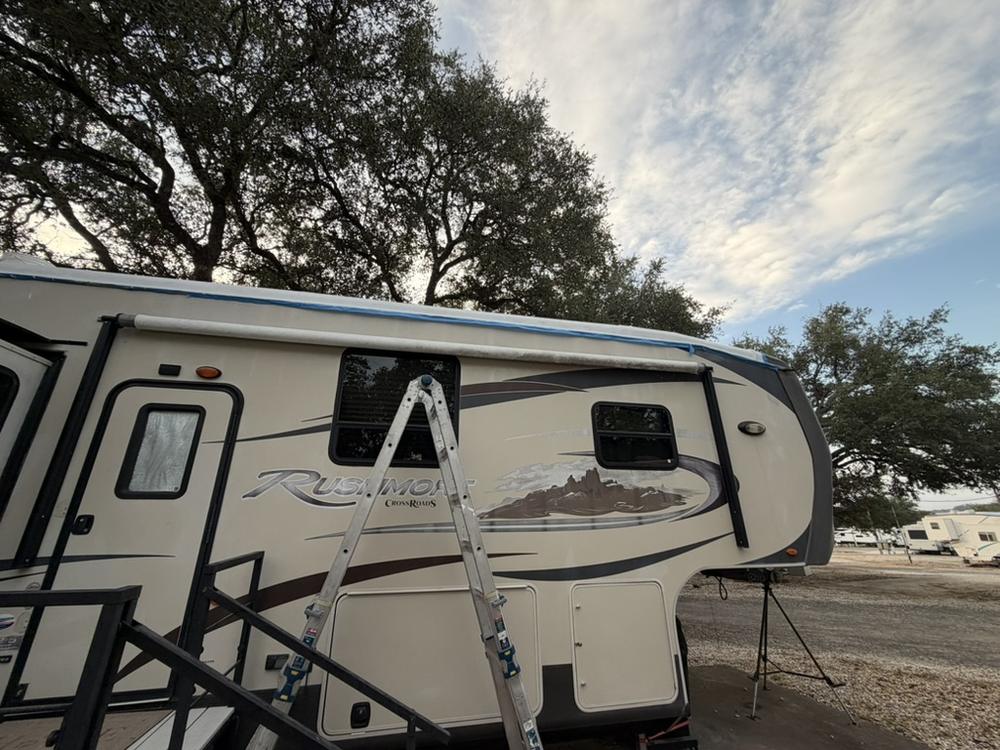
We are an authorized CrazySeal dealer and installer. This one went on a CrossRoads Rushmore fifth wheel in Boerne, TX, September 2026 — and it started, as these jobs should, by opening the roof up rather than coating over it.
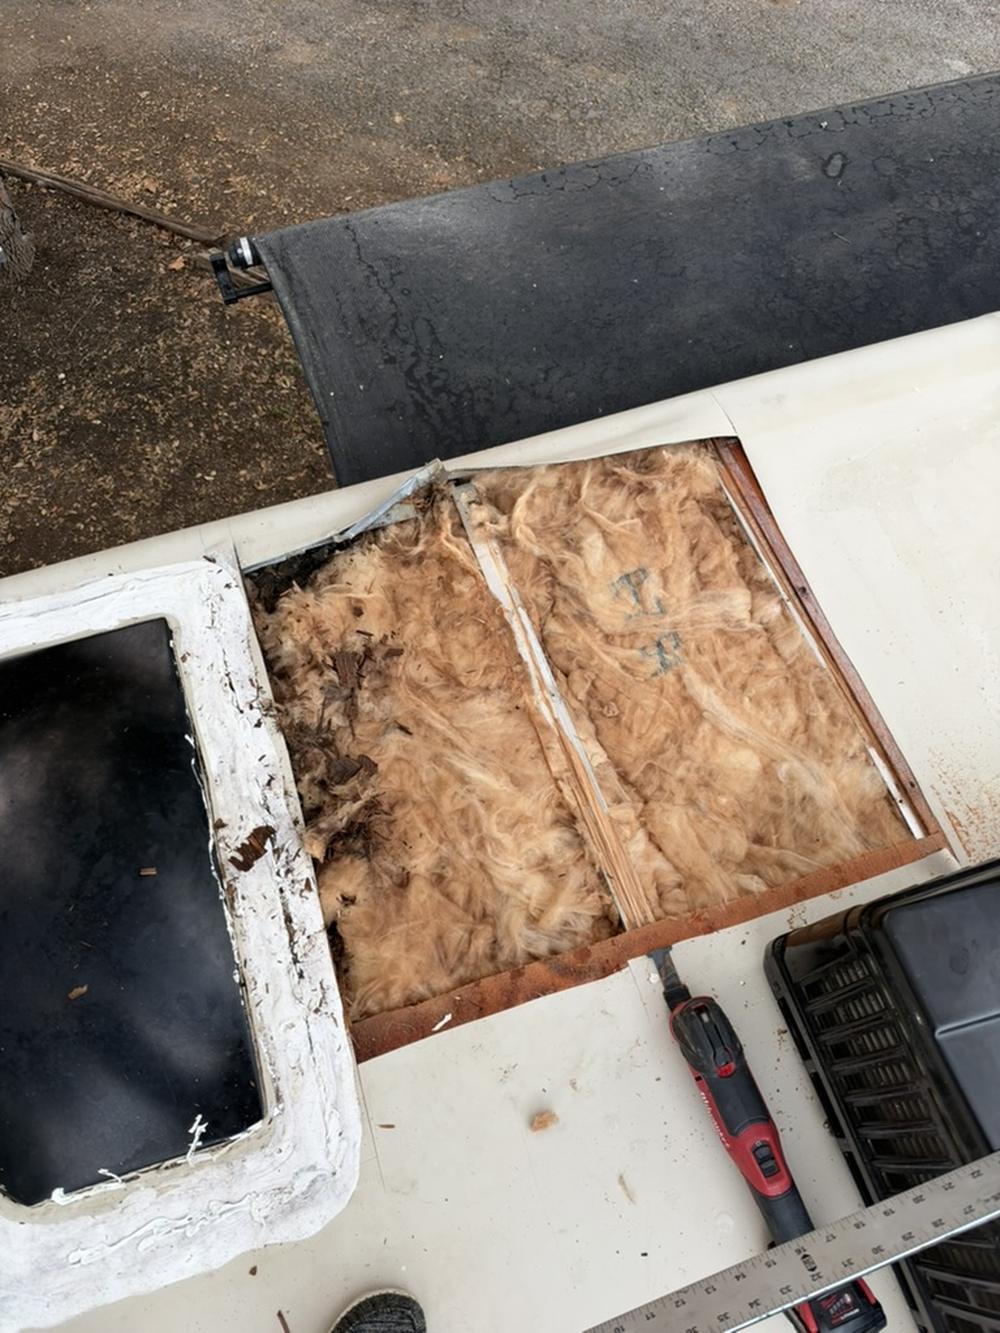
An RV roof opened up at a vent, old membrane peeled back with insulation and framing exposed
Opened up firstA roof opening with the fitting out and the old membrane peeled back — insulation, framing and the staining around the edge all visible. Nothing goes over the top of a roof until we have looked under it.
New plywood decking let into an RV roof with the old membrane peeled back
New decking let inFresh plywood fitted where the old decking had to come out, with the membrane peeled further back to reach sound material. A coating is only ever as good as the deck underneath it.
An RV roof with the vent refitted and the surface prepared for coating
Fittings back, roof preppedThe vent refitted and bedded, and the roof surface readied across its whole length.
A technician cleaning an RV roof by hand before coating
Cleaning, which is most of the workThe surface cleaned by hand before anything is applied. Whatever is left on a roof at this stage is what the new system has to bond through.
Blue masking tape run along the drip edge of an RV roof
Masked at the edgesTape run along the drip edge so the termination is a deliberate line rather than wherever the roller stopped.
RV roof vents and fittings masked off before the coating is applied
Every fitting maskedVents and fittings papered off before a drop goes down. Prep is the unglamorous half of the job and the half that shows later.
A roller applying white CrazySeal roof coating to an RV roof, showing the line between coated and uncoated
The coating going onRolled across the roof in sections. The line between coated and uncoated is the clearest look at what the system actually is.
The finished white CrazySeal roof system on an RV, with all vents sealed in
FinishedA continuous surface across the whole roof, with every penetration sealed into it rather than sitting on top of it.
A CrossRoads Rushmore fifth wheel in Boerne, Texas after a CrazySeal roof system was installed
The coach it went onA CrossRoads Rushmore fifth wheel, done where it was parked in Boerne.

Worth saying plainly: a roof system is not a way of avoiding a repair. On this roof the decking came out and new plywood went in before anything was applied. Any coating rolled over soft decking buys you an appearance and nothing else — we have documented what that looks like when it is opened up years later.

Common Questions

Roof Replacement FAQ

A full replacement is typically a two to three day job depending on the length of the roof, how many penetrations there are, and how much of the decking has to come out. We work on site, so your RV stays where it is throughout.

Most roofs need a reseal, not a replacement. If the seams are tired but the decking underneath is sound, resealing is the correct and much cheaper answer. Replacement is for roofs where water has already reached the structure — soft spots underfoot, interior ceiling staining, or a membrane that is lifting and splitting. We will look at it and tell you honestly which one you have.

Yes. We carry out full roof replacements on site, wherever the RV is parked. That matters because towing a rig with a compromised or partially removed roof risks far more damage than the original problem.

Storm and hail damage very often is. We work with insurance claims and with most extended warranties, and we handle factory warranty work for select manufacturers. On a job the size of a roof replacement it is worth checking before you pay out of pocket.

Ready to get your RV back in service?

Schedule online in about two minutes, or call and talk to a real technician. Either way, we come to you.

*One hour minimum labor charge required with all service calls. Contact us for current labor rates. Pricing is subject to change at any time without notice.

Call Now Book